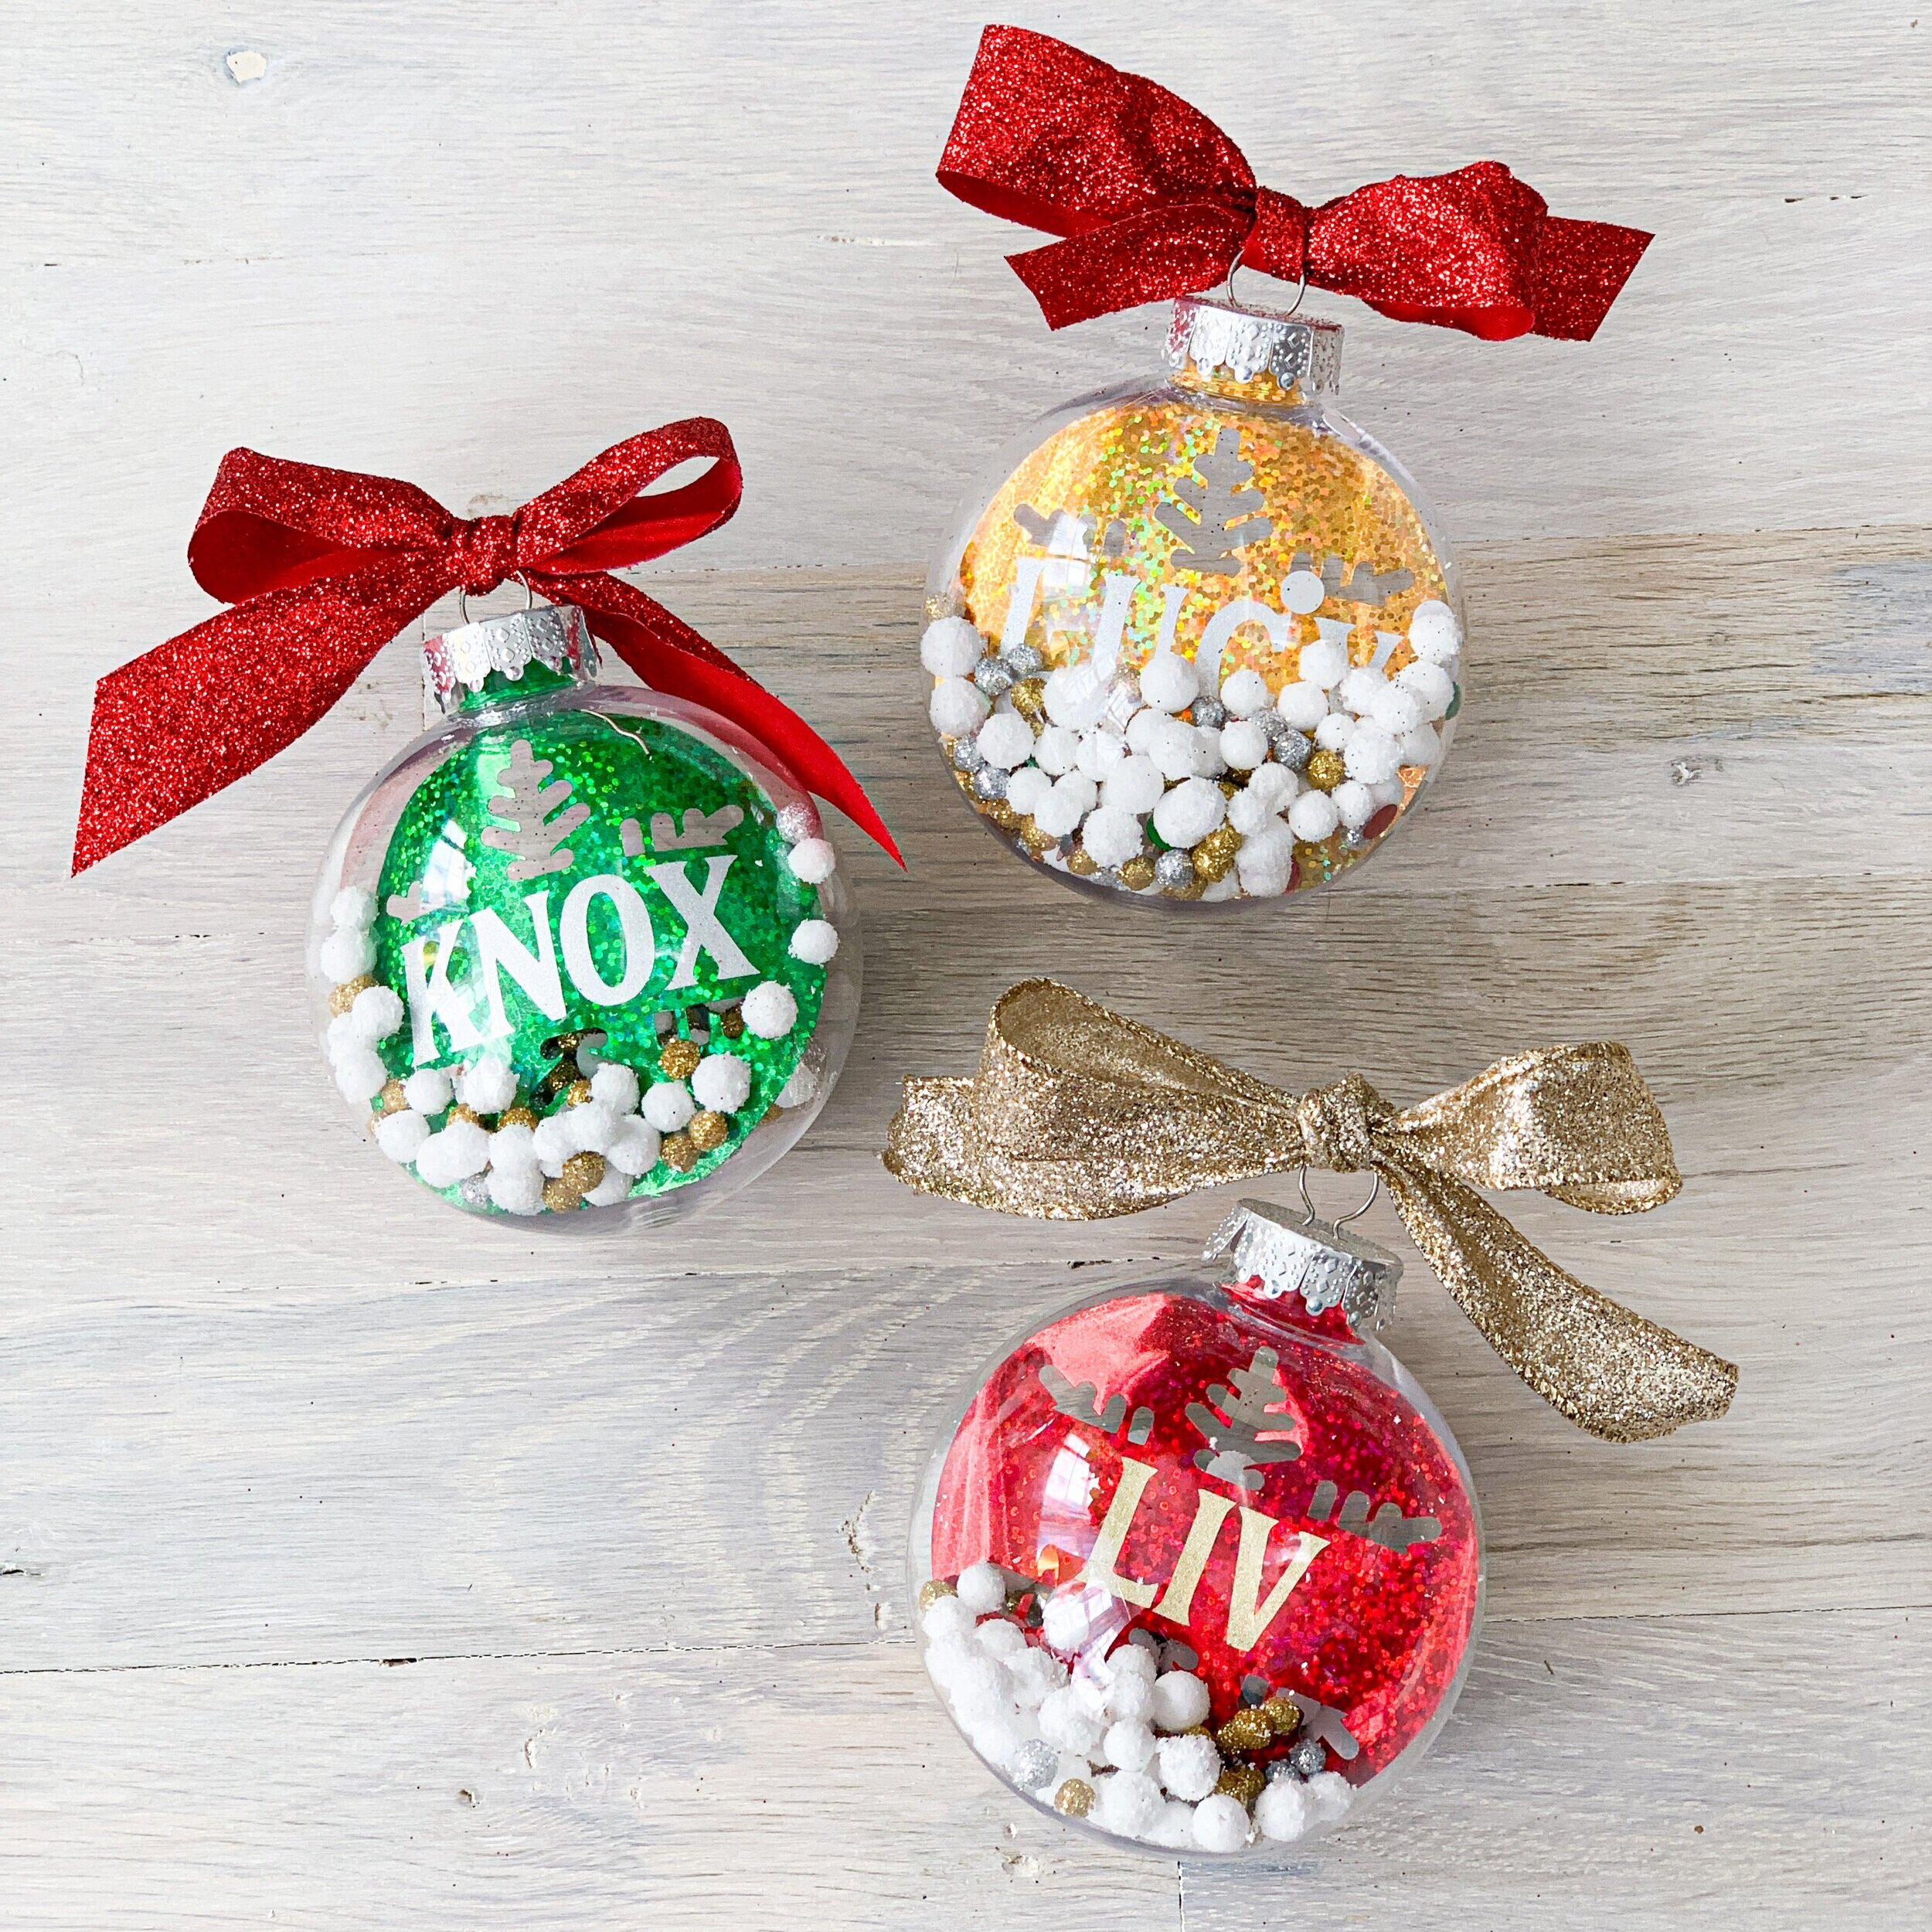
Are you team hodge-podge ornaments or team store-bought matching ornaments? Our tree is made up almost entirely of random, homemade ornaments going back to my childhood and I love that I get to relive those memories each year as we hang them on the tree. I’ve made my kids ornaments almost every year in hopes that one day they will have the same memories.
I’m honored to partner with Cricut this year to make some custom ornaments for my kiddos! When I first saw Cricut’s Party Foil in all it’s shiny, glittery goodness, I knew I wanted to figure out a fun, new way to use it.
This is a quick, beginner-level project that will hopefully teach you a few tricks in Cricut Design Space.
This post is made in partnership with Cricut, a company I love and rave about on the regular! It also contains affiliate links to the products I mention here. These links help me keep creating fun things in this space, so when you click on one, it’s like a virtual high five- thank you!
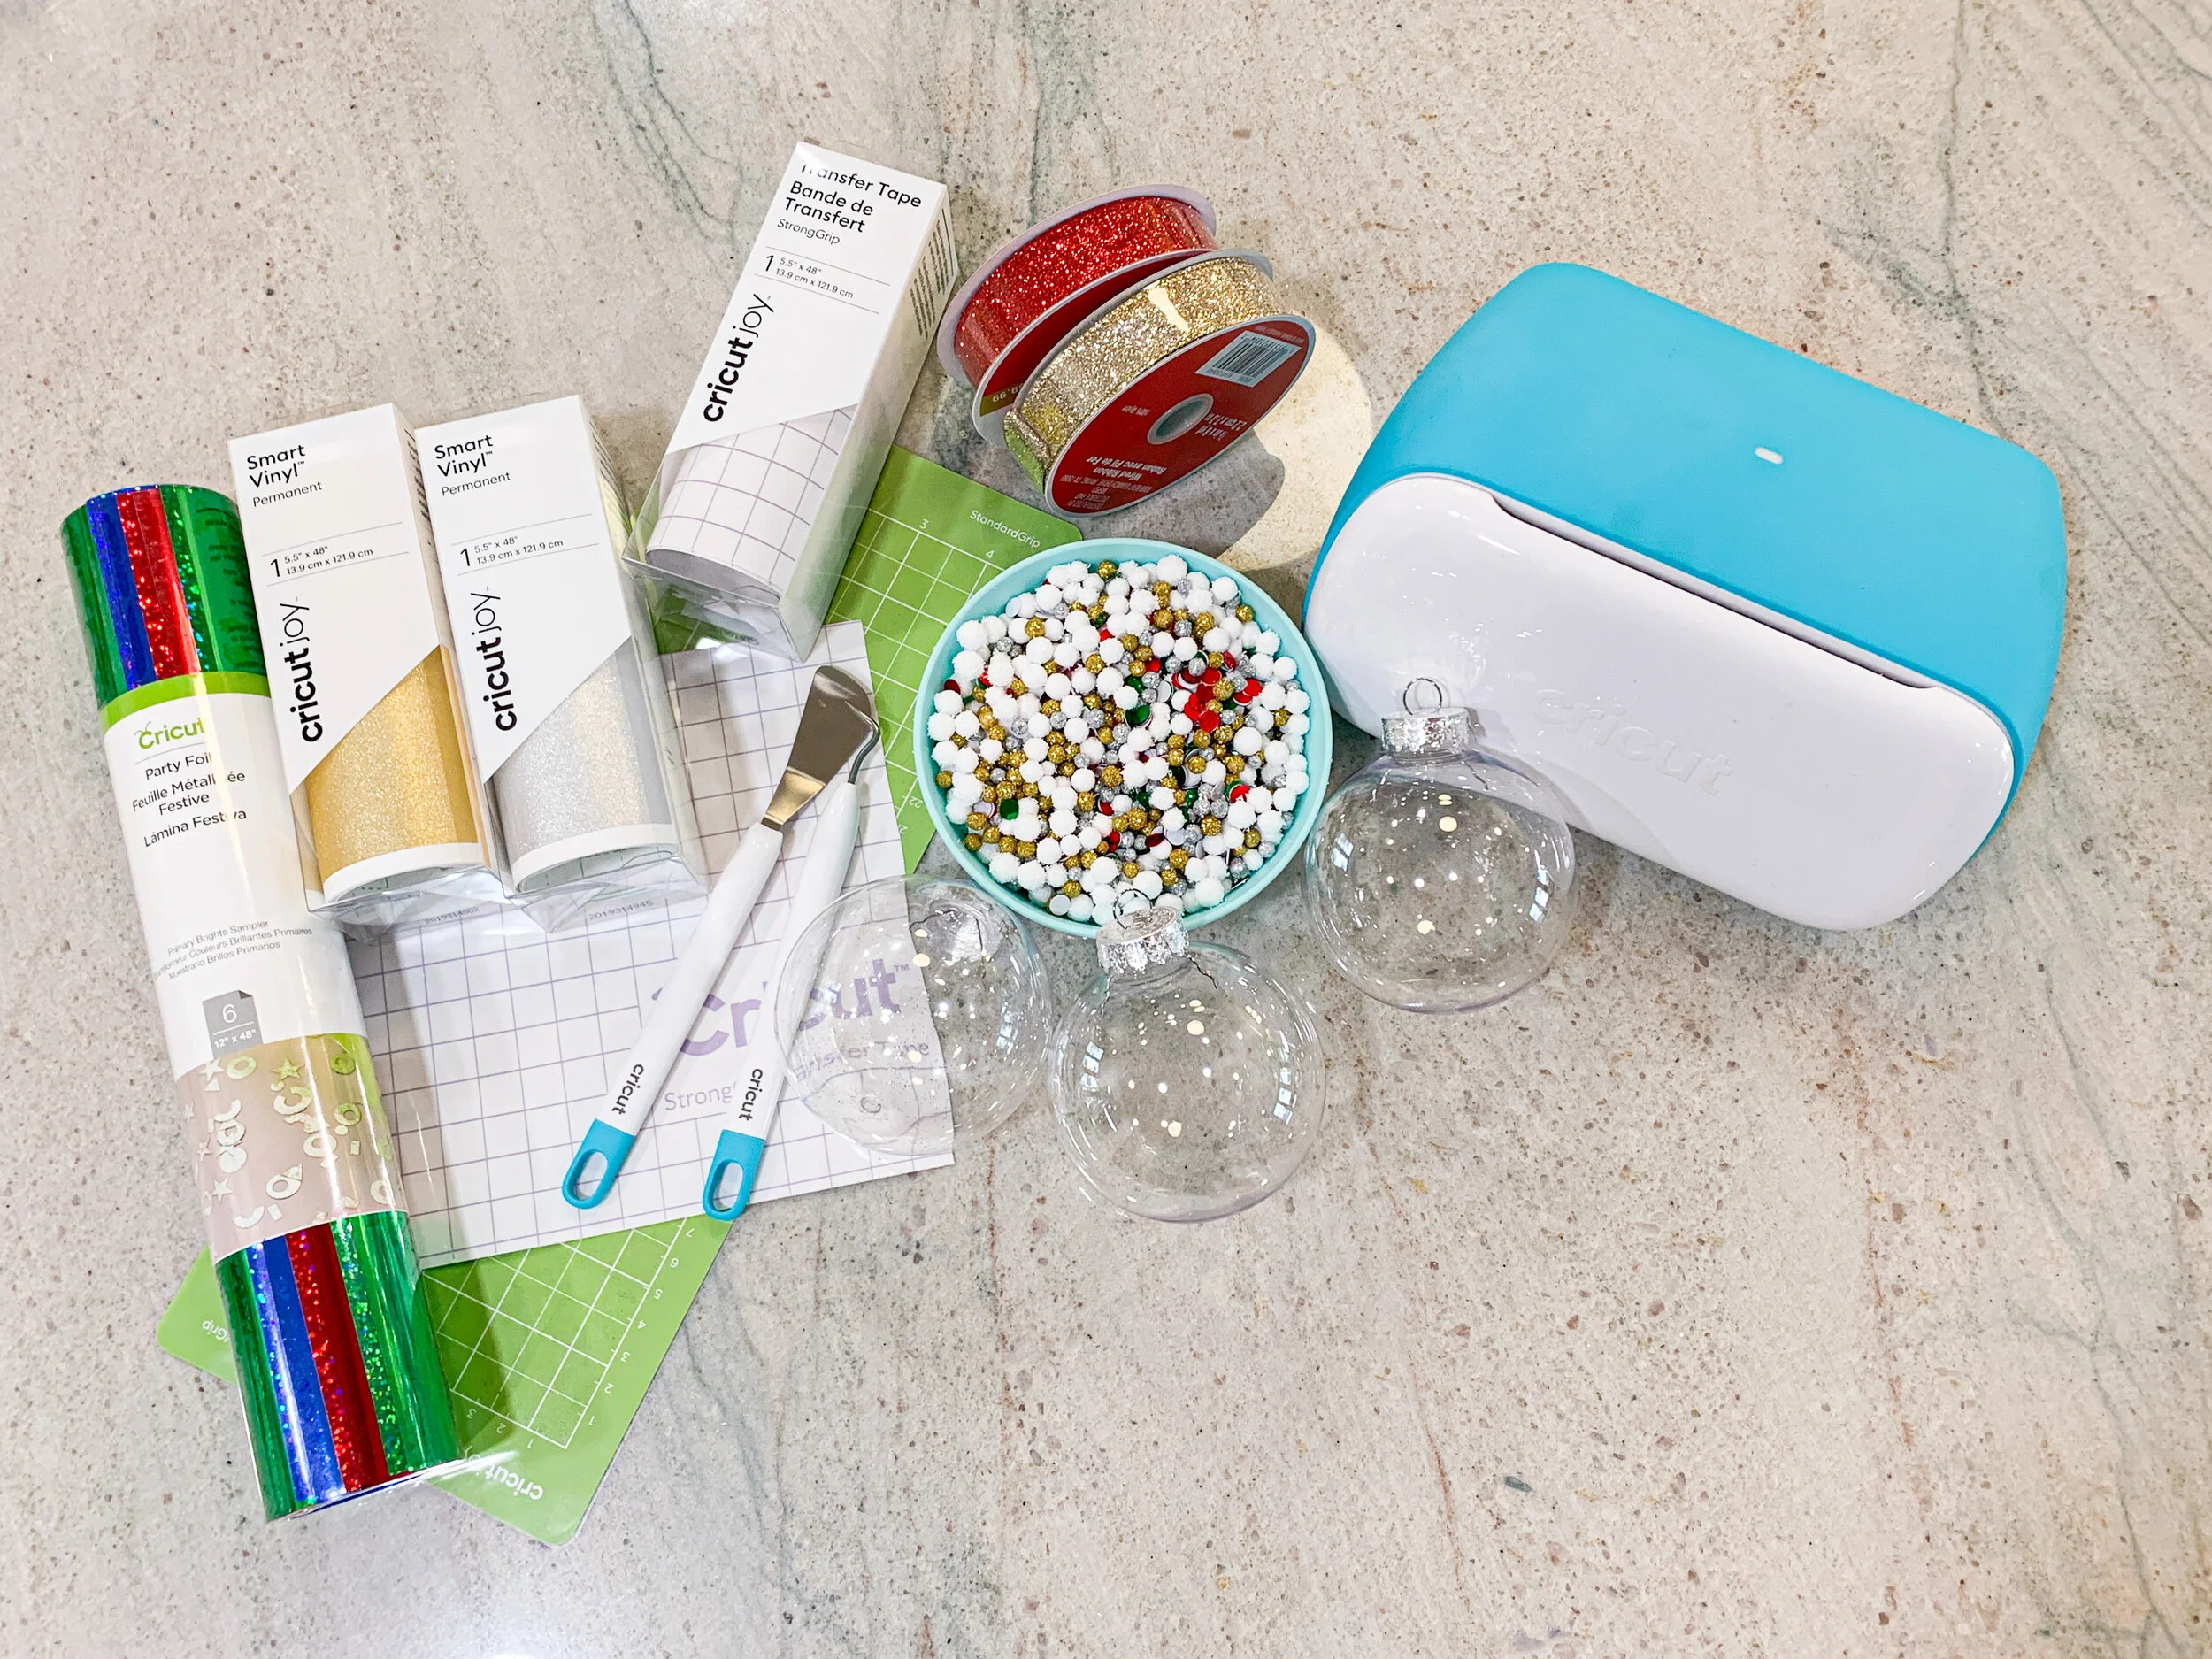
Supplies needed:
(These are affiliate links- when you use them to purchase, I receive a small commission, which helps me create more content for you!)
Cricut Joy Smart Vinyl Shimmer (I used gold and silver)
Confetti Mix (I used a combination of confetti from my local craft store)
Ribbon
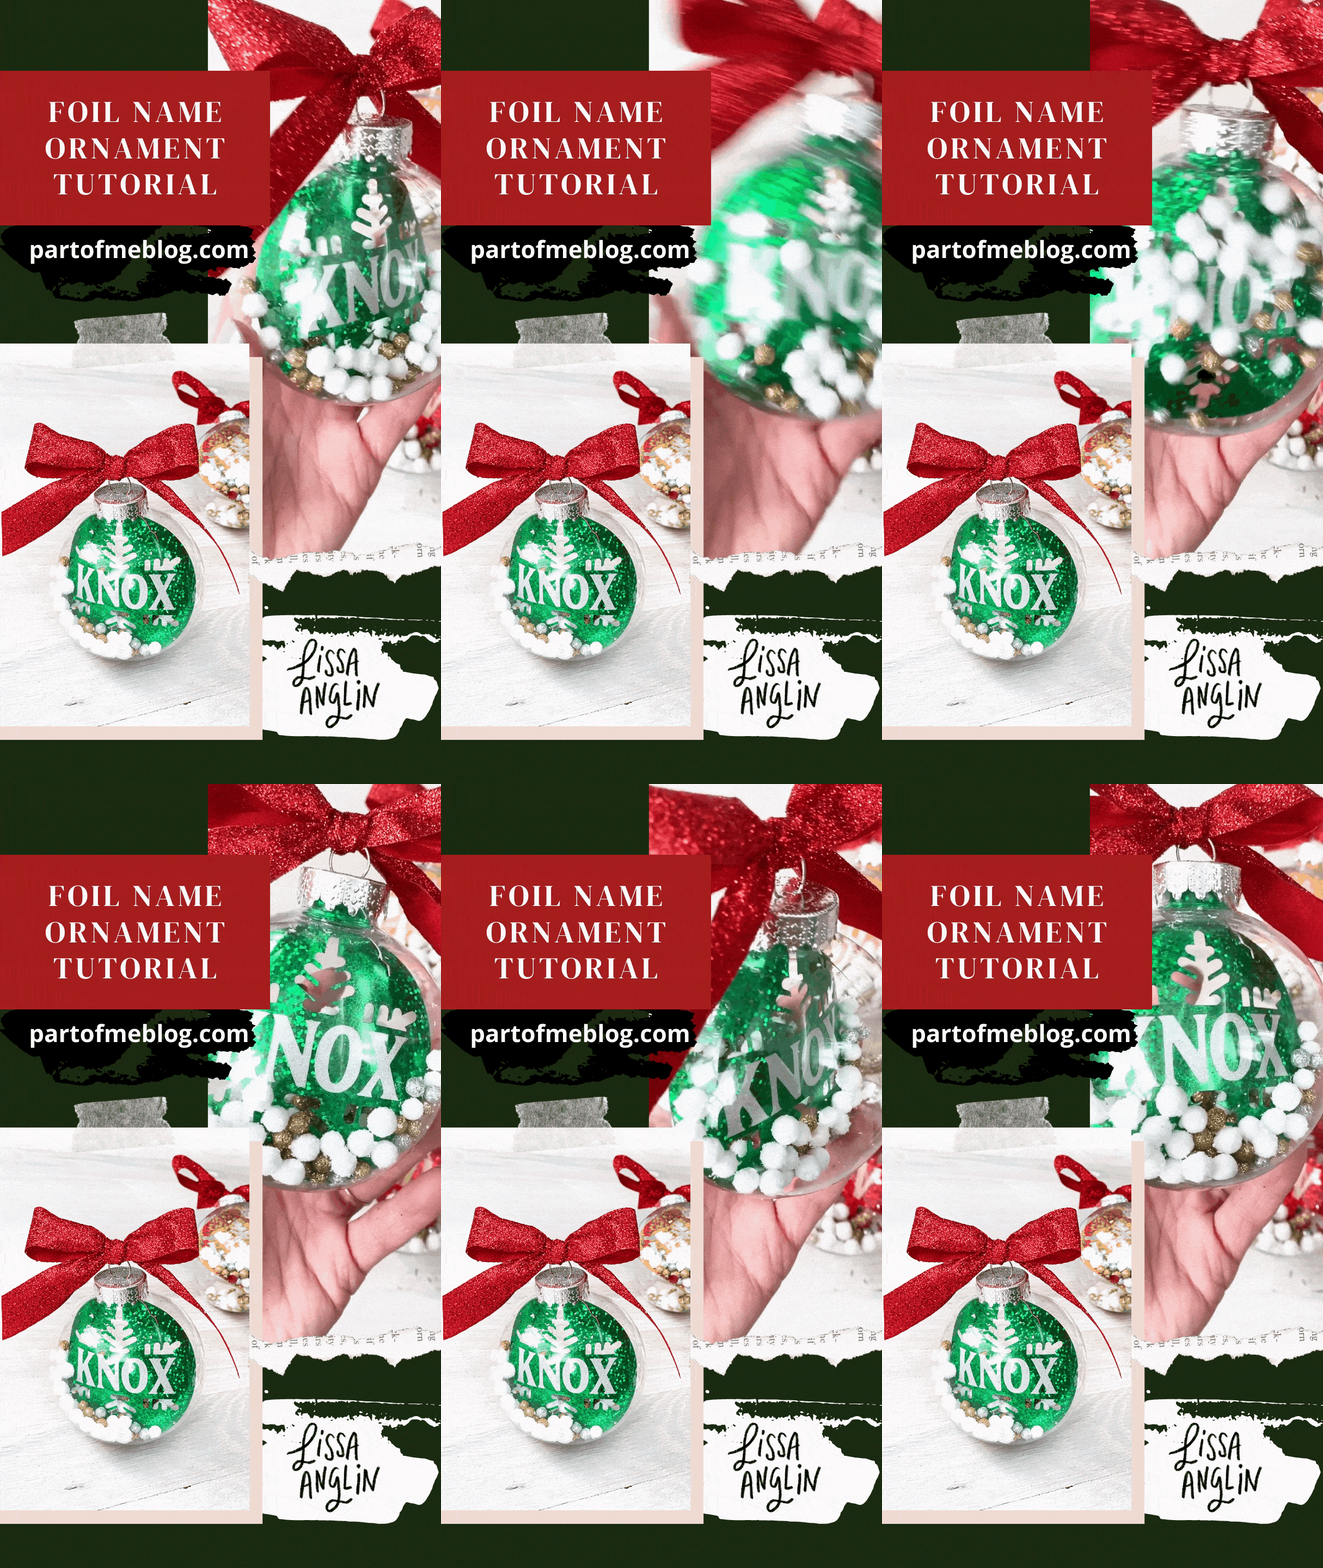
Check out this video for the step-by-step tutorial:
If you create this project, I’d love for you to tag me @lissaanglin when you share it so I can see your beautiful creations!
